Are you tired of that power cord dangling across your dashboard? Worried that your dash cam stops recording the second you turn off your car? There is a much better way.
You hardwire a dash cam by connecting it directly to your vehicle's fuse box. This method provides constant power for parking mode and creates a seamless, cable-free look, making the camera a true part of your car.
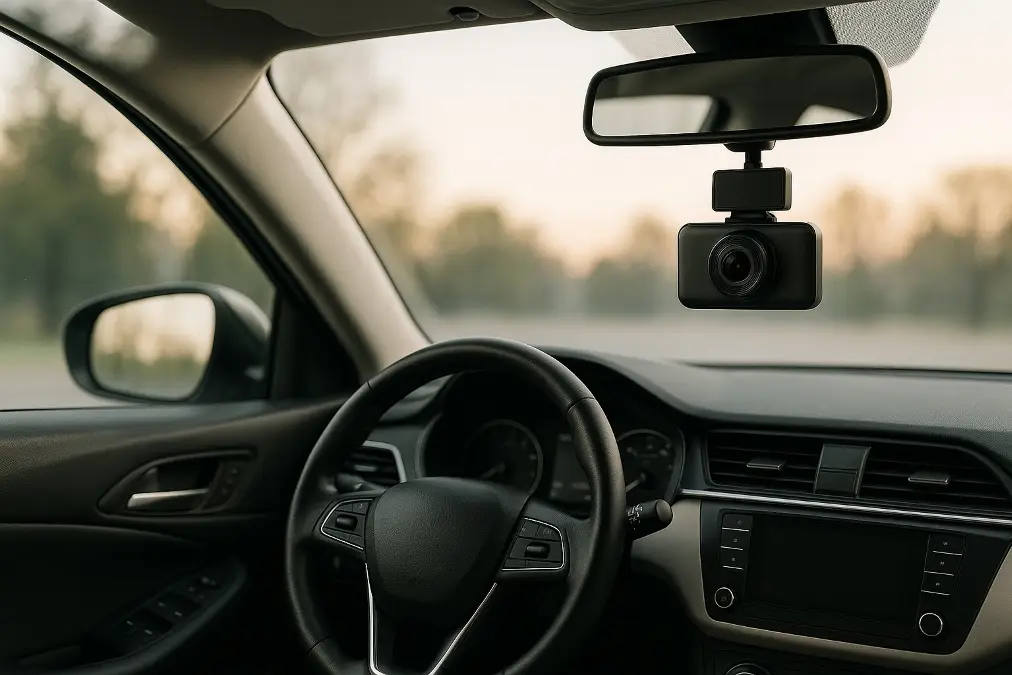
A hardwired dash cam isn't just about looking good; it's about unlocking the full safety potential of your device. At VST Tech, our mission is to make driving safer with technology that feels like it belongs in your vehicle. A proper hardwire installation1 is the foundation of that principle. It enables critical features like parking surveillance, which can be the difference-maker in a hit-and-run incident. This guide will walk you through the process, focusing on the technical details to ensure you get a reliable, professional-grade result that will last for years.
What tools and components are essential for the job?
Starting a project without the right gear is a recipe for frustration. You risk damaging your car's interior or ending up with an unreliable connection. Let's get everything prepared first.
For a successful installation, you need a vehicle-specific hardwire kit2, a set of add-a-fuse taps, a multimeter, plastic trim removal tools, and pliers. These are the non-negotiable items for a safe and clean installation.
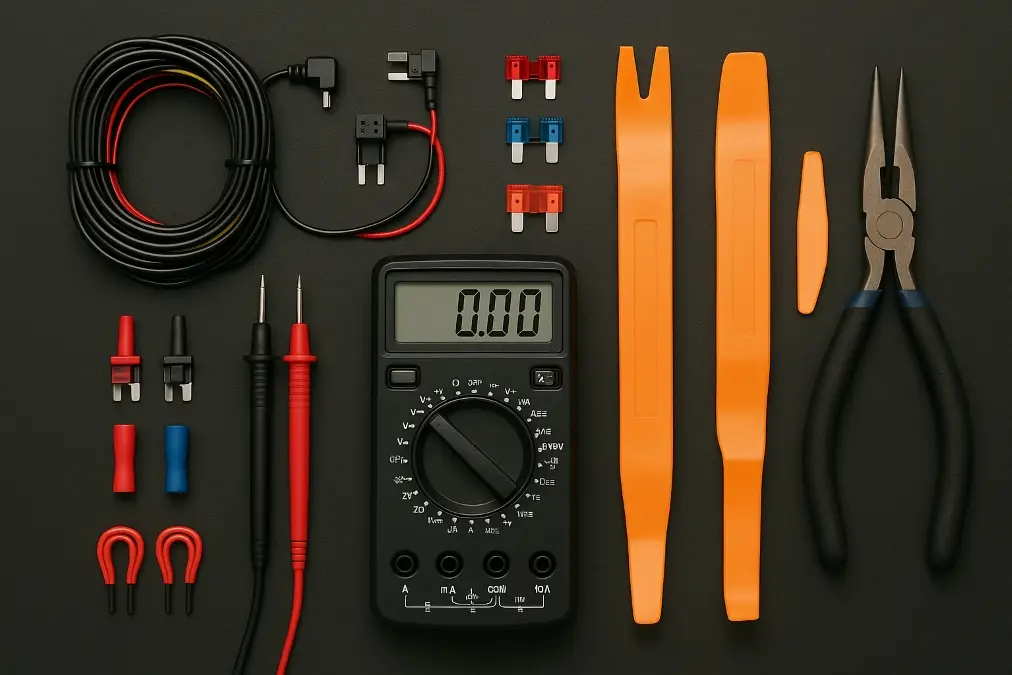
As someone who lives and breathes automotive electronics, I can tell you that preparation is everything. For a skilled installer like yourself, using the right components ensures the quality you expect. The hardwire kit is the brain of the operation. I always recommend choosing a kit with a built-in low-voltage cut-off module3. This device monitors your car's battery and shuts off the dash cam if the voltage drops too low, preventing you from ever having a dead battery. The add-a-fuse taps are another critical choice. They let you draw power from a circuit without cutting or splicing any factory wires. This is essential for maintaining your vehicle’s warranty and electrical integrity.
Choosing the Right Components
Not all components are created equal. Your vehicle's fuse box uses a specific type of fuse, and you must get a matching add-a-fuse tap. Here is what to look for:
| Component | Key Consideration | Why It Matters for a Pro Install |
|---|---|---|
| Hardwire Kit | Adjustable low-voltage cutoff (e.g., 11.8V, 12.0V, 12.4V). | Lets you balance parking mode runtime against battery health. |
| Add-a-Fuse Taps | Must match your car's fuses (ATO, Mini, Low-Profile Mini). | An incorrect tap simply won't fit or will make a poor connection. |
| Multimeter | A quality digital multimeter4. | Provides precise voltage readings, essential for identifying fuses. |
| Trim Tools | A full set of plastic pry tools. | Prevents marring or breaking the plastic clips on interior panels. |
Before you start, open your fuse box and pull one fuse to visually identify its type. This small step will save you a trip back to the auto parts store.
How do you locate the correct fuses in your fuse box?
Connecting to the wrong fuse can be a costly mistake. You could disable a critical safety system, like your airbags, or find your car battery dead after leaving it parked overnight.
Use a multimeter to identify one "switched" (ACC) fuse that powers on with the car, and one "constant" (BATT+) fuse that is always on. These are the two power sources your dash cam needs to function correctly.
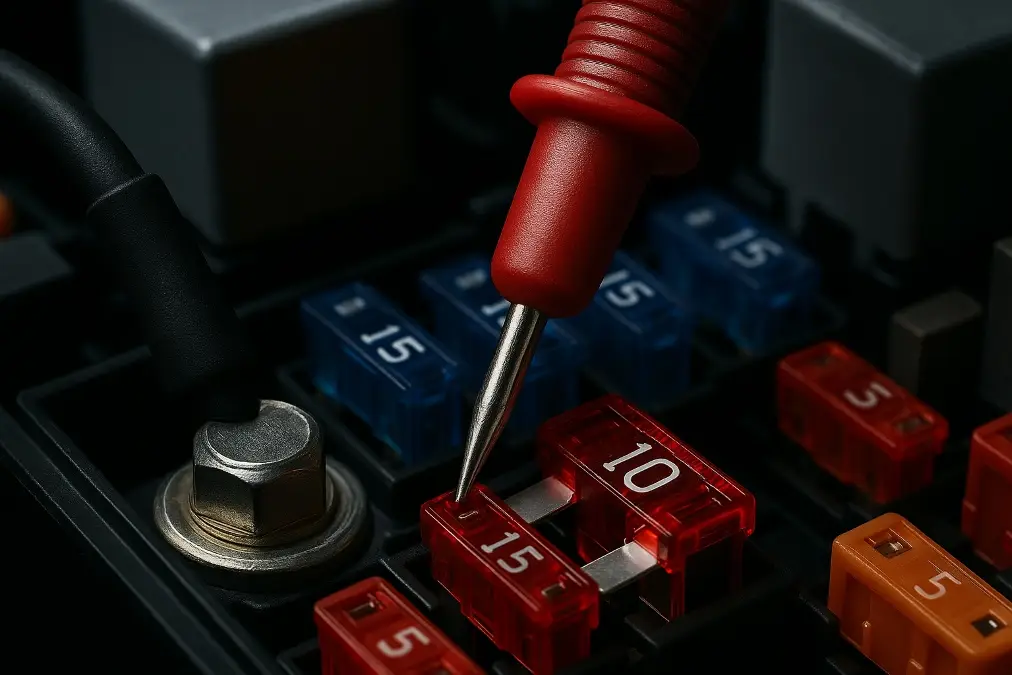
I’ve troubleshooted enough installations to know that fuse box diagrams can be misleading. Manufacturing variations mean the only way to be 100% certain is to test them yourself. It’s a simple process that removes all guesswork. First, find a solid ground. An unpainted metal bolt on the car's frame is a perfect ground point for your multimeter's black probe. Now, let’s find the power.
Testing for Switched and Constant Power
- Find a Switched (ACC) Fuse: Turn the ignition key to the "ACC" or "ON" position. Touch the multimeter's red probe to the metal test points on top of each fuse. When the meter reads ~12V, you have found a powered fuse. Now, turn the car off. If the meter drops to 0V, you've confirmed it's a switched fuse. Circuits for the radio or cigarette lighter are excellent choices.
- Find a Constant (BATT+) Fuse: Keep the car turned off. Test the fuses again. Any fuse that still reads ~12V is a constant power source. These are ideal for the parking mode wire. Look for circuits like power seats, interior lights, or the hazard lights.
- Important Note: Always avoid fuses related to the Engine Control Unit (ECU), fuel pump, or any SRS (airbag) systems. Sticking to accessory circuits is the safest practice.
What is the proper method for connecting the wires?
A weak connection is a future failure point. A loose ground can cause erratic behavior, while a poorly crimped power wire can lead to intermittent power loss just when you need the camera most.
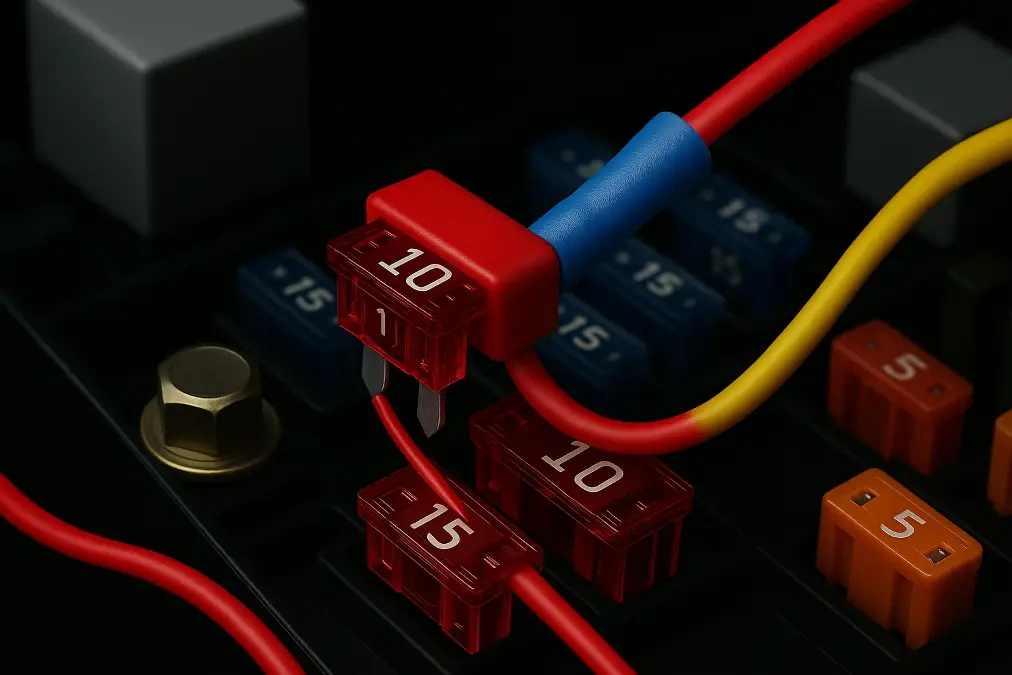
Securely connect the red (ACC) wire to the switched fuse and the yellow (BATT+) wire to the constant fuse, both using add-a-fuse taps. The black (GND) wire must be attached firmly to a bare metal chassis ground point.
The ground connection is the foundation of the entire circuit. I’ve seen many issues traced back to a ground wire attached to a painted surface or a plastic part. Find an existing factory bolt that goes directly into the metal frame. Loosen the bolt, slide the spade connector from the black wire underneath it, and tighten it down firmly. You can test your ground with the multimeter; check for continuity between the bolt and another known ground point.
Using Add-a-Fuse Taps Correctly
The orientation of the add-a-fuse tap matters. It has an "input" side (where power comes from the fuse box) and an "output" side (which goes to your new device).
- Identify the "Hot" Side: With the original fuse removed, use your multimeter to test the two empty slots where the fuse was. One slot will have ~12V, and the other will be dead. The powered slot is the "hot" side.
- Install Correctly: The leg of the add-a-fuse that aligns with the "output" wire should go into the dead slot. This ensures power flows through both fuses correctly, protecting both the original circuit and your new dash cam.
- Crimp Securely: Use pliers or a proper crimping tool to create a strong mechanical and electrical bond between the wire and the add-a-fuse tap's butt connector. A gentle tug test will confirm it's secure.
How do you professionally route and hide the power cable?
Exposed wires look sloppy and can be a safety hazard. They can get caught, pulled, or create distracting rattles. The goal is an installation so clean that it looks like it was done at the factory.
Tuck the power cable into the headliner, run it down the inside of the A-pillar, and secure it behind the dashboard to the fuse box. Use plastic trim tools to avoid damaging panels and zip ties to prevent rattles.
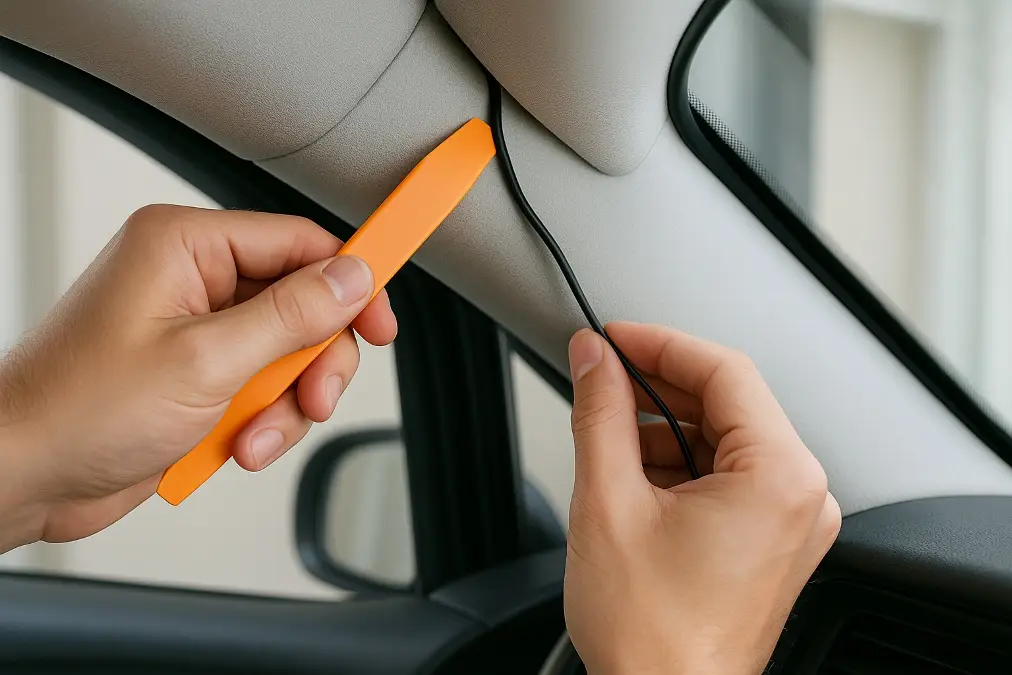
The path you choose for your cable is just as important as the electrical connections. Start at the dash cam. I typically mount mine just to the side of the rearview mirror. This placement hides it from the driver's view but gives the lens a clear picture of the road. From there, gently work the cable into the seam between the windshield and the headliner. A plastic trim tool is perfect for this.
Navigating the A-Pillar Safely
This is the most critical part of routing. Most modern vehicles have side curtain airbags in the A-pillars. Interfering with them is a serious safety risk.
- Expose the Pillar: Use your trim tool to carefully pop the A-pillar5 cover off. You don't always need to remove it completely, just open it enough to see inside.
- Identify the Airbag: You will see the rolled-up airbag and the existing factory wiring harness.
- Secure the Cable: Route your new dash cam cable alongside and behind the existing factory harness. Never run the cable in front of or over the airbag. Use several zip ties to attach the new cable securely to the factory harness. This ensures that if the airbag ever deploys, your cable will not interfere with it.
Once you're past the A-pillar, run the wire down along the side of the dash and secure any slack with zip ties before making your final connections at the fuse box.
Conclusie
By following these steps, you've completed a professional hardwire installation. Your dash cam is now a fully integrated safety system, providing 24/7 protection without the clutter of messy wires.
-
Understanding hardwire installation is crucial for ensuring your dash cam operates effectively and safely. Explore this link for detailed insights. ↩
-
A vehicle-specific hardwire kit is essential for a proper installation. Discover why it's important and how to choose the right one. ↩
-
Understanding low-voltage cut-off modules can help you choose the best components for your dash cam installation, ensuring battery health. ↩
-
A quality digital multimeter is essential for accurate voltage readings, making it a must-have for any pro installer. ↩
-
Understanding the A-pillar's role in vehicle safety is crucial for safe dash cam installation. Explore this link for detailed insights. ↩


