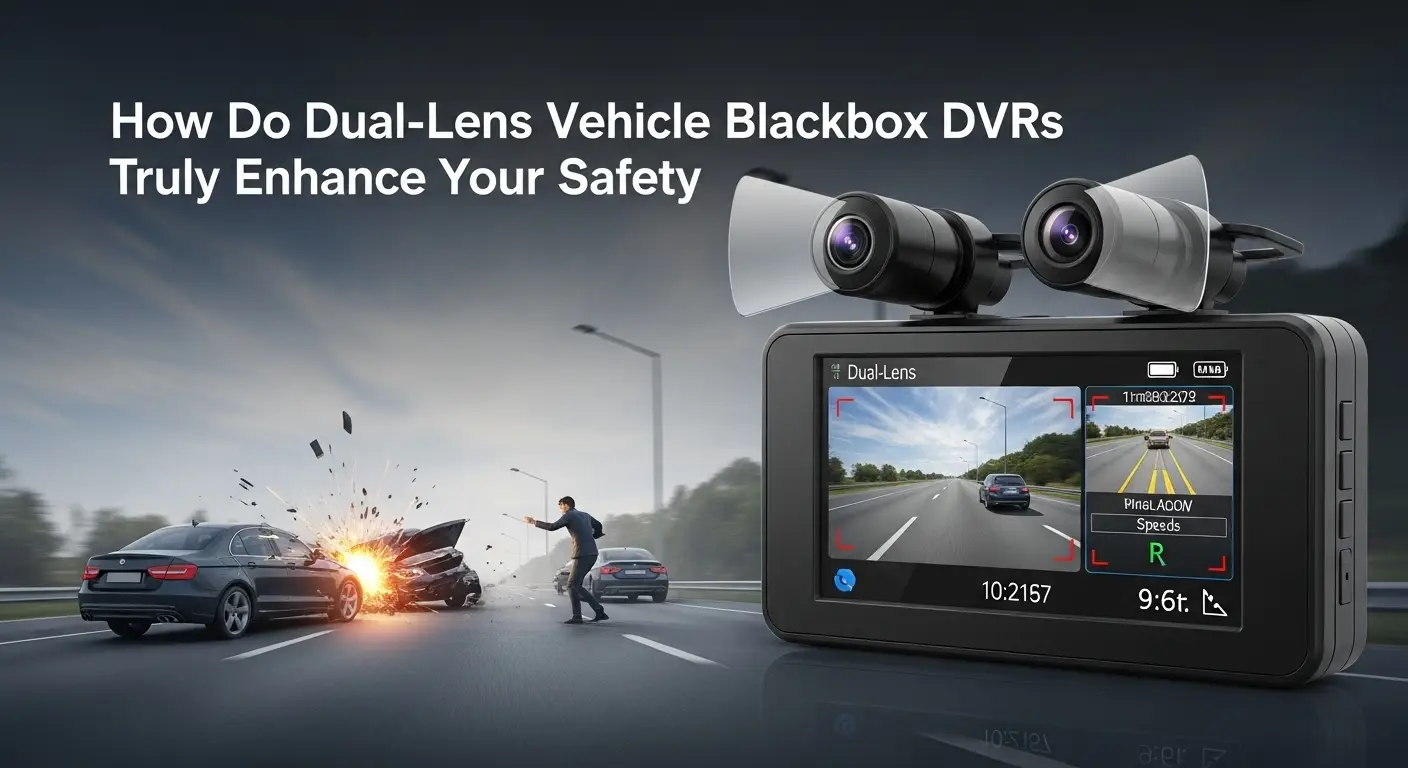
Worried about missing crucial details during an incident? A standard dash cam's forward-only view leaves a massive blind spot behind you, which can complicate insurance claims and legal disputes.
A dual-lens DVR enhances safety by recording both the road ahead and the situation behind your vehicle simultaneously. This provides comprehensive video evidence, helps identify rear-end collision culprits, and offers greater peace of mind on every journey.
I’ve installed dozens of these systems over the years, and I can tell you that not all dual-lens DVRs are created equal. The difference between a reliable, professional setup and a frustrating waste of money often comes down to the specific type of system you choose and how it’s designed. To make the right choice, you need to understand the core differences between them. Let’s break down what you, as an installer or a detail-oriented user, really need to know before you buy.
What Are the Main Types of Dual-Lens Dash Cams?
Choosing a dual-lens system can be confusing with all the different styles. Picking the wrong one can lead to poor video quality, a difficult installation, or an obstructed view.
The main types are integrated units with two lenses in one body, separate camera systems with a front unit and a wired rear camera, and mirror dash cams. Each offers different installation methods, discreetness, and performance trade-offs for your vehicle.
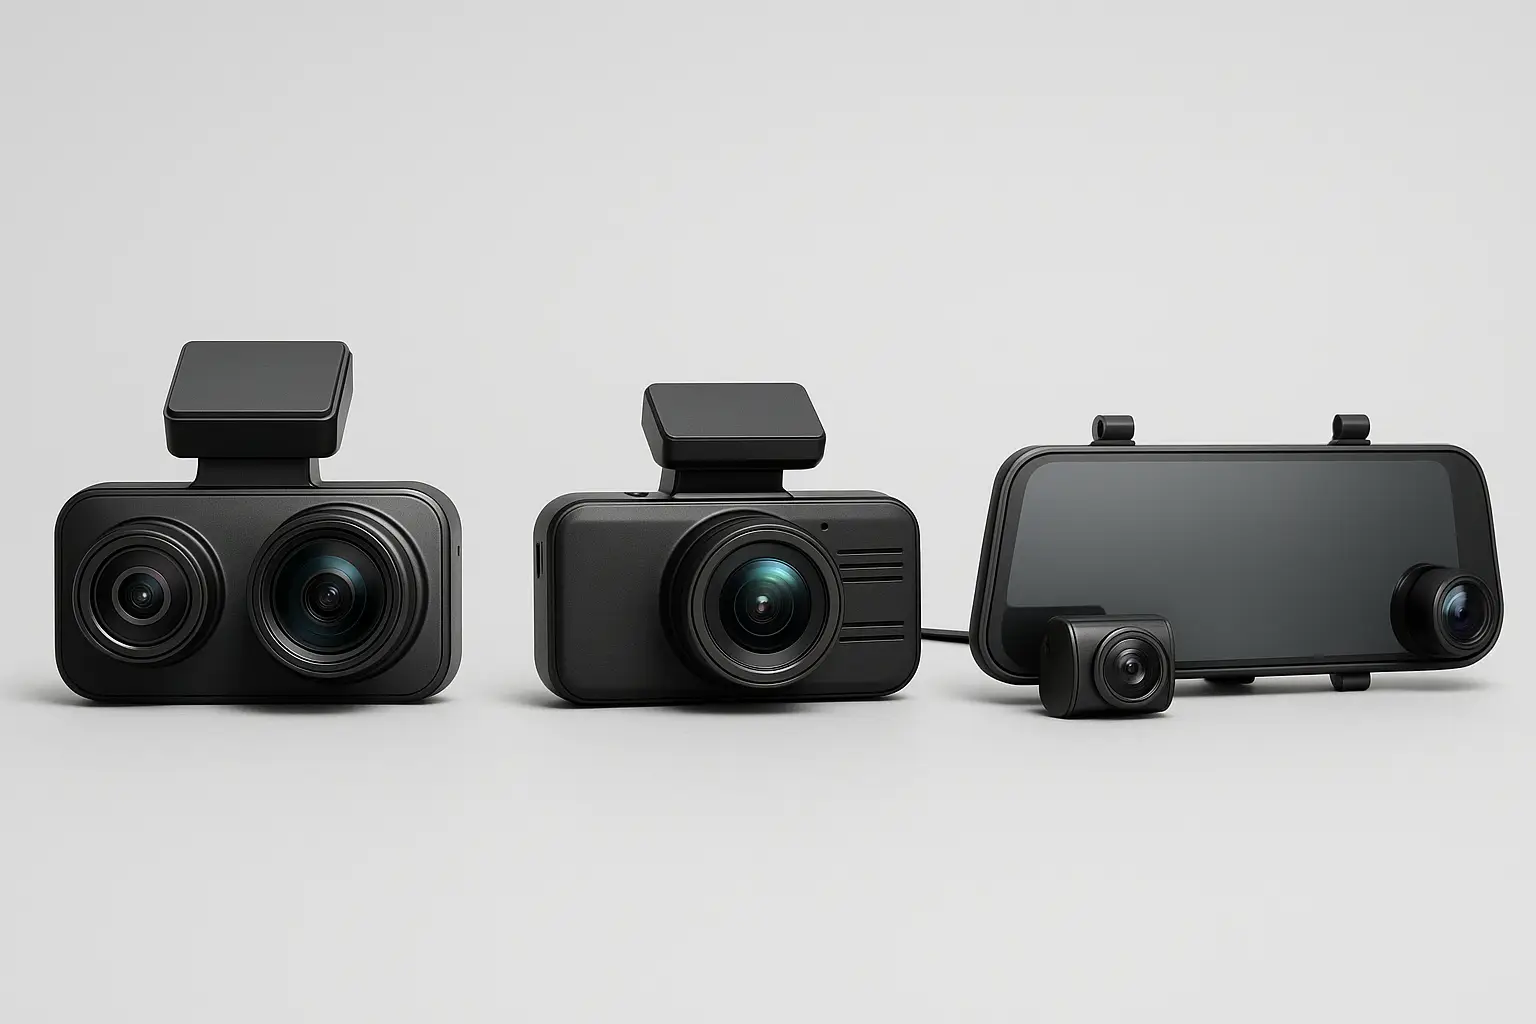
When I'm evaluating a job, the first thing I consider is which form factor fits the vehicle and the owner's needs best. Each type has distinct advantages and disadvantages that are critical to understand. It's not just about recording video; it's about seamless integration and reliability.
Integrated (All-in-One) Units
These units house both the front-facing and a second, interior-facing lens in a single body that mounts to the windshield. The second lens is typically meant to record the cabin, but sometimes it's angled to capture a view out the rear window. The primary advantage is simple wiring—you only have to power one device. However, the rear view is heavily compromised. Its angle is tied to the windshield's position, making it useless in commercial vehicles, trucks, or vans where cargo or partitions block the view.
Separate Front and Rear Systems
This is the most common and, in my opinion, the most effective design. You have a main camera unit for the front windshield and a smaller, separate camera for the rear window, connected by a long cable. This setup provides a true, unobstructed view of the road behind you. The main challenge is the installation, as it requires carefully routing the connection cable through the car’s headliner and trim panels for a clean, factory-like finish.
Integrated Mirror Dash Cams
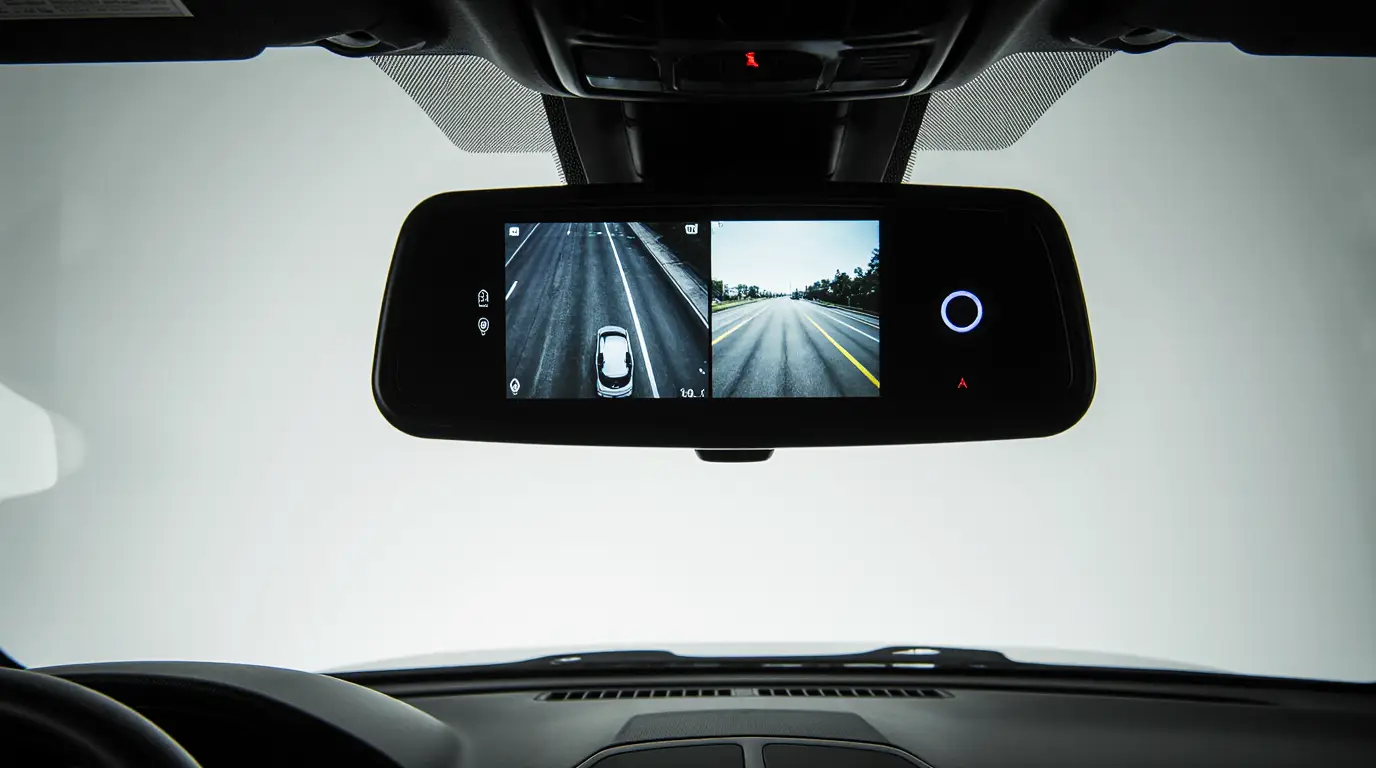
These systems replace or clip over your existing rearview mirror and function as both a mirror and a display screen. They are discreet and offer a large, clear view from the rear camera, which is especially helpful when parking. However, the constant video display can be distracting for some drivers. Glare can also be an issue, and the installation can be more involved than a simple windshield mount, sometimes requiring you to change the mirror's mounting bracket.
| Feature | Integrated Unit | Separate System | Mirror Cam |
|---|---|---|---|
| Video Coverage | Front + Cabin | True Front + Rear | True Front + Rear |
| Installation | Easiest | Most Complex | Moderate |
| Discreetness | Good | Good | Excellent |
| Best For | Rideshare, Simplicity | Most Cars (SUVs, Sedans) | Aesthetics, Parking Aid |
What Are the Key Installation Challenges for a Rear Camera?
You've selected a great dual-lens system, but now you face the task of installing the rear camera. Running that long cable can be a real headache, risking damaged trim or a messy job.
The key challenges for rear camera installation are routing the connecting cable cleanly through the vehicle's trim, finding a suitable and reliable power source, and mounting the camera for an optimal view. Proper planning is essential for success.

A clean installation is what separates a professional job from an amateur one. I’ve seen my share of dangling wires and poorly placed cameras. Taking the time to do it right not only looks better but also ensures the system's long-term reliability.
Cable Routing Strategy1
The biggest job is hiding the wire connecting the front and rear cameras. My standard path is from the front unit, tucking the wire into the headliner, running it along the passenger side, down the A-pillar (be careful with airbags), across the headliner to the back, and then down the C-pillar to the rear window. For hatchbacks and SUVs, the process is trickier. You have to route the wire from the main cabin into the tailgate through the flexible rubber conduit that protects the factory wiring. This is non-negotiable for a professional look and to prevent wire damage. A good set of plastic trim removal tools is essential to avoid scratching or breaking clips.
Power Connection Method2
For a dual-lens system to be truly effective, especially for parking mode, you need a constant power source. Hardwiring is the best method. I use an add-a-circuit fuse tap to draw power from the vehicle's fuse box. You'll need to identify two types of fuses with a multimeter: a constant fuse (always on) for parking mode and a switched (ACC) fuse that only gets power when the car is on. The 12V cigarette lighter port is an easier option but looks less clean, leaves a wire exposed, and typically won't allow for parking mode functionality since most ports turn off with the car.
Camera Placement and Angle3
Where you stick the rear camera matters. The ideal spot is at the top center of the rear window, ensuring the wiper blade's path clears the view. Before you peel off the adhesive backing, you must clean the glass thoroughly with an alcohol wipe. The most critical step is to power on the system and check the live feed on the screen or a smartphone app. This lets you confirm the angle is level and provides an unobstructed view before you permanently mount it. It’s a simple check that saves a lot of frustration.
How Do You Evaluate the Technical Specs of a Dual-Lens DVR?
Nearly every dash cam box advertises "Full HD," but the actual video quality can vary dramatically. Relying on marketing terms alone can leave you with grainy, useless footage from that critical rear camera.
To properly evaluate a dual-lens DVR, you must check the resolution and frame rate for both cameras. Also look for a quality image sensor, wide dynamic range (WDR) for balanced lighting, and a large lens aperture for better night performance.
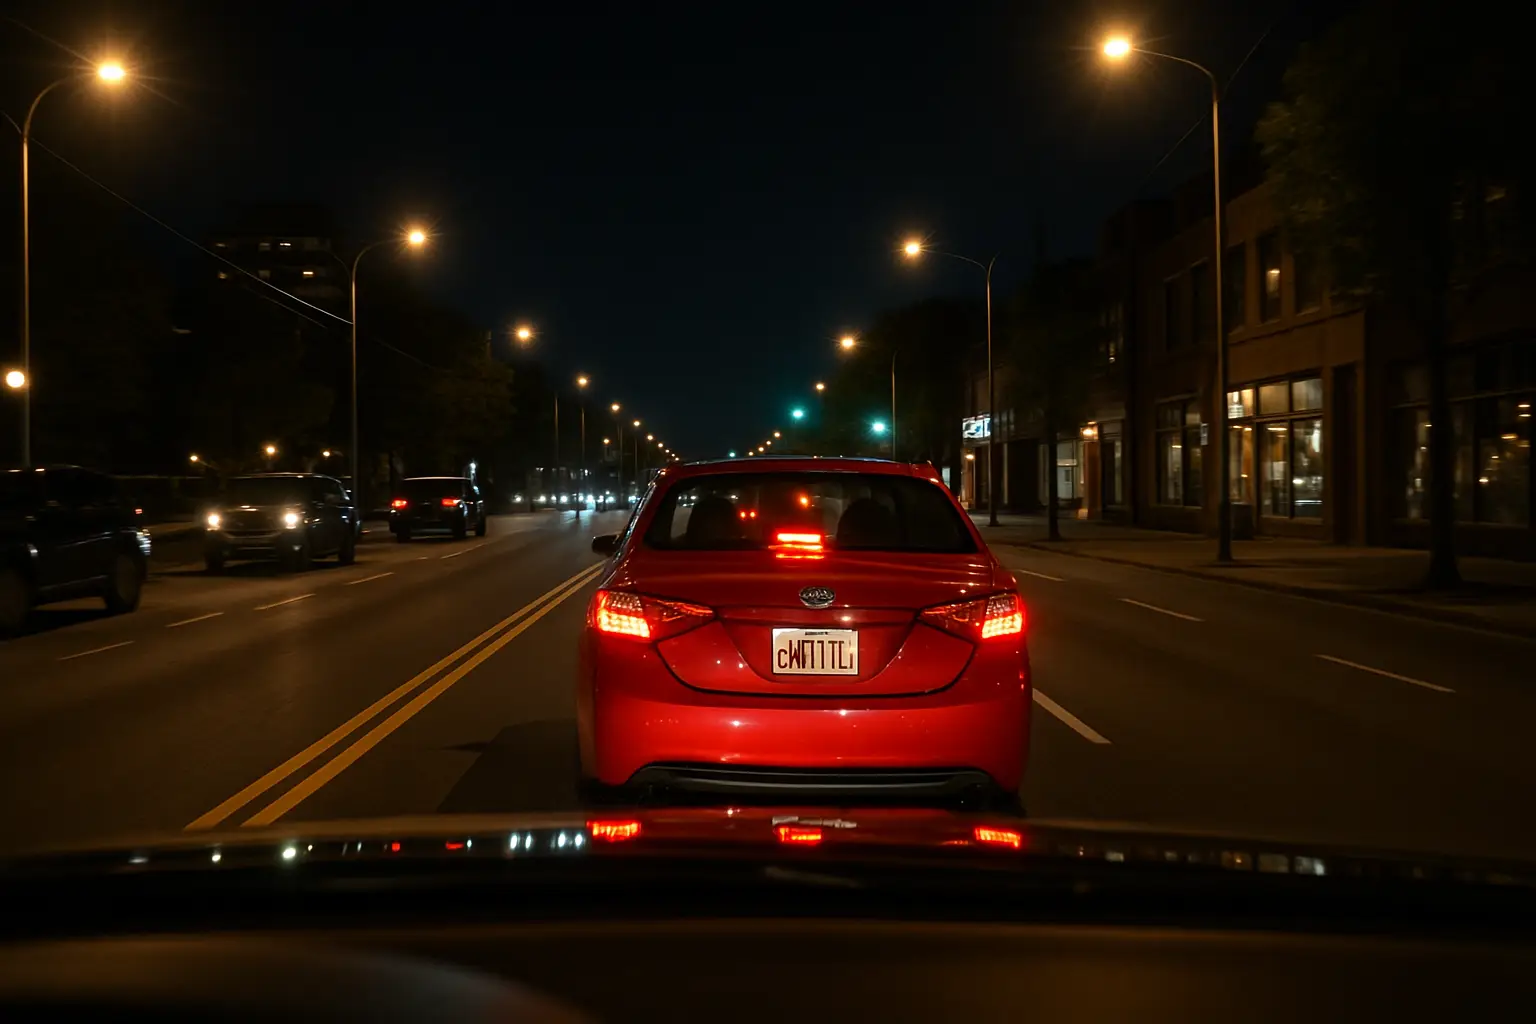
As a technician, the spec sheet is where I separate the serious products from the toys. The numbers and components listed tell a story about how the system will perform in the real world, especially in challenging lighting conditions like night driving or harsh sunlight.
Resolution and Frame Rate
Don't get fooled by a "4K" label on the box. Often, this only applies to the front camera. You need to verify the resolution of the rear camera as well. A 1080p (Full HD) rear camera is the minimum I would consider for clear footage. A common high-end configuration is 4K front and 1080p or 2K rear. Frame rate is also key. While 30fps is standard, a 60fps front camera can provide smoother video and a better chance of capturing a license plate on a fast-moving vehicle. Be aware that some lower-quality systems degrade the performance of both cameras when recording simultaneously, so check for performance specs during dual-channel recording.
Image Sensor and Lens
The image sensor is the heart of the camera. I always look for systems using Sony STARVIS sensors, which are the industry benchmark for excellent low-light and nighttime video clarity. A good sensor makes a bigger difference than resolution alone. Next, look at the lens aperture, shown as an f-number (e.g., f/1.6, f/1.8). A smaller number means the aperture is larger and can let in more light, which is crucial for clear night recording.
Processor and Hardware Reliability
A powerful processor is needed to manage two video streams without overheating or crashing. Features like Wide Dynamic Range (WDR) depend on the processor to balance the bright and dark areas of a shot, preventing washed-out skies or dark shadows. For reliability, I strongly recommend systems that use a supercapacitor instead of a lithium-ion battery. Supercapacitors are far more resistant to extreme heat and cold, which is vital for a device that lives on a car's windshield. They last longer and are much safer than batteries, which can swell and fail in high temperatures.
Schlussfolgerung
A dual-lens DVR is a vital safety tool. Choosing the right type for your vehicle and ensuring it has solid technical specs gives you complete and reliable protection on the road.
-
Explore this resource to learn effective cable routing techniques that ensure a professional and clean installation of dash cams. ↩
-
Discover the most reliable power connection methods for dual-lens dash cams to enhance their functionality and performance. ↩
-
Find out how to properly place and angle your dash cam for optimal performance and clear footage, avoiding common mistakes. ↩

