You’ve found the perfect dash cam, but now comes the big question: installation. The thought of tangled wires, complex fuse boxes, and potential hidden fees can turn an exciting purchase into a source of stress.
In 2024, professional dash cam installation typically costs between $50 for a basic job and over $200 for a complex hardwired system. A DIY install costs only your time plus around $20-$40 for essential tools, but requires care and patience to get right.

As the founder of VST Tech, my mission is built on a simple idea: protecting your driving safety. A dash cam is a critical part of that, but its reliability is only as good as its installation. A camera that loses power or has messy wires dangling across the dashboard isn't providing the dependable protection you paid for. I've spent years working with these systems, from designing them to installing them myself. I understand the debate between paying a professional and the satisfaction of a well-executed DIY project1. Let's break down the real-world costs, challenges, and benefits of each path so you can make an informed decision that ensures your investment truly keeps you safe on the road.
Is Paying for Professional Dash Cam Installation Worth the Money?
You're looking at your car's sleek interior and thinking about prying open panels. The risk of scratching the trim or, worse, interfering with sensitive electronics like airbags is a serious concern.
Yes, for most people, professional installation is worth the $50 to $200+ cost. You are paying for an expert's time, tools, and knowledge, which guarantees a clean, safe, and fully functional installation, especially for hardwired systems with parking mode.

When you hire a professional, you're not just paying for labor; you're buying specialized expertise. I once consulted on a case where a new car owner tried to hardwire their dash cam and tapped into the CAN bus system, causing a cascade of error lights on the dashboard. A professional installer knows to avoid these critical circuits. They have experience with dozens of vehicle models and understand the unique quirks of their fuse boxes and wiring harnesses. They can elegantly route a rear camera wire through the tight rubber grommet connecting the chassis to the rear hatch—a task that can frustrate even a patient DIYer for an hour. They ensure every wire is hidden, secured with zip ties to prevent rattling, and connected to the correct type of fuse (constant vs. accessory). For modern cars with complex electronics or for anyone who values a flawless, factory-look finish without the risk, the cost is a sound investment in peace of mind.
Detailed Breakdown of Professional Costs
The final price depends heavily on your car and camera. Here’s a more detailed look:
| Service Level | Typical Cost Range | What It Involves & Who It's For |
|---|---|---|
| Basic Front Camera (12V Plug) | $50 - $80 | The installer neatly tucks the single power cord along the headliner and A-pillar to the 12V socket. Best for: Simplicity seekers and those not needing parking mode. |
| Front & Rear Camera (12V Plug) | $100 - $150 | Includes the front camera wiring plus the added complexity of routing the rear camera wire through the entire length of the car's interior trim. Best for: Dual-channel users who want a clean setup without touching the fuse box. |
| Hardwire Installation (Front Only) | $100 - $175 | Connects the camera to the fuse box for parking mode. This requires identifying constant and accessory power fuses, using fuse taps, and grounding the unit. Best for: Anyone needing parking surveillance. |
| Hardwire Installation (Front & Rear) | $150 - $250+ | This is the most complex job, combining the fuse box connection with routing the rear camera wire. Best for: Users who want the full, seamless protection of a dual-camera system with parking mode. |
| Luxury/Exotic Vehicle Surcharge | +$50 - $100+ | Cars with very complex electronics (e.g., German luxury brands), delicate materials like Alcantara, or difficult-to-remove panels require extra time and care. |
Can You Really Save Money by Installing a Dash Cam Yourself?
You see the professional installation quotes and think, "I'm technically capable." The idea of saving over $100 and having complete control over the installation is very appealing.
Absolutely. A DIY installation can save you the entire labor cost, which can be over $200. Your main investment is a few hours of your time and around $20-$40 for a basic toolset, making it the most cost-effective method if you have the confidence.

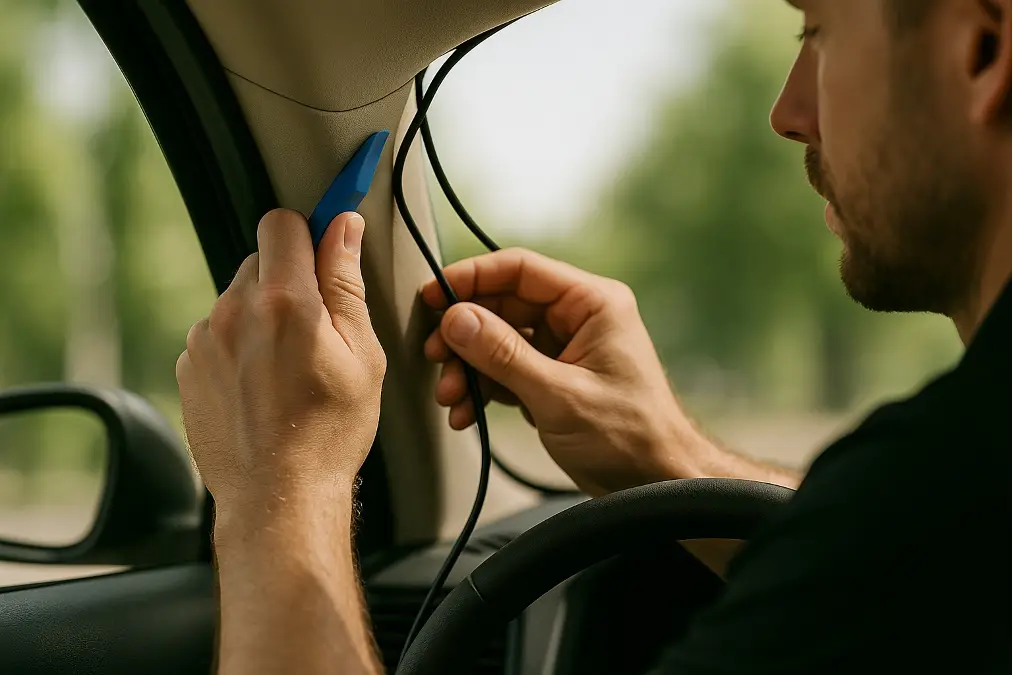
For someone with technical skills, like our target user Jacky, a DIY installation is not just possible; it's often preferable. You get to ensure every connection is perfect and every wire is routed exactly to your high standards. I still remember the immense satisfaction from hardwiring my first dual-camera system in my own car. The biggest challenge was feeding the rear wire through the headliner without causing it to sag. I used a plastic trim tool to gently create a path and took my time. The critical step was using a circuit tester at the fuse box. I carefully tested each slot to confirm which ones were "always on" for parking mode and which only activated with the ignition. It took me a full afternoon, but the result was a completely invisible installation that performed flawlessly. The money I saved was great, but the confidence of knowing the job was done right, by my own hands, was the real reward. It's a project that is well within reach for anyone who is patient and methodical.
Your DIY Installation Blueprint
A successful DIY project comes down to preparation and the right tools.
-
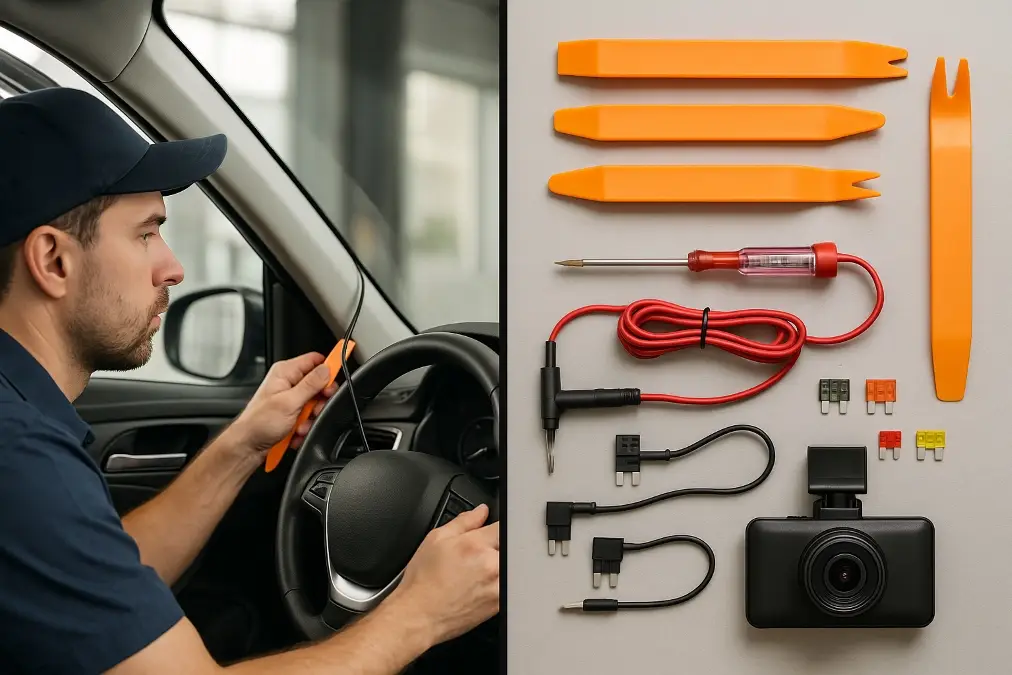
Essential Gear:
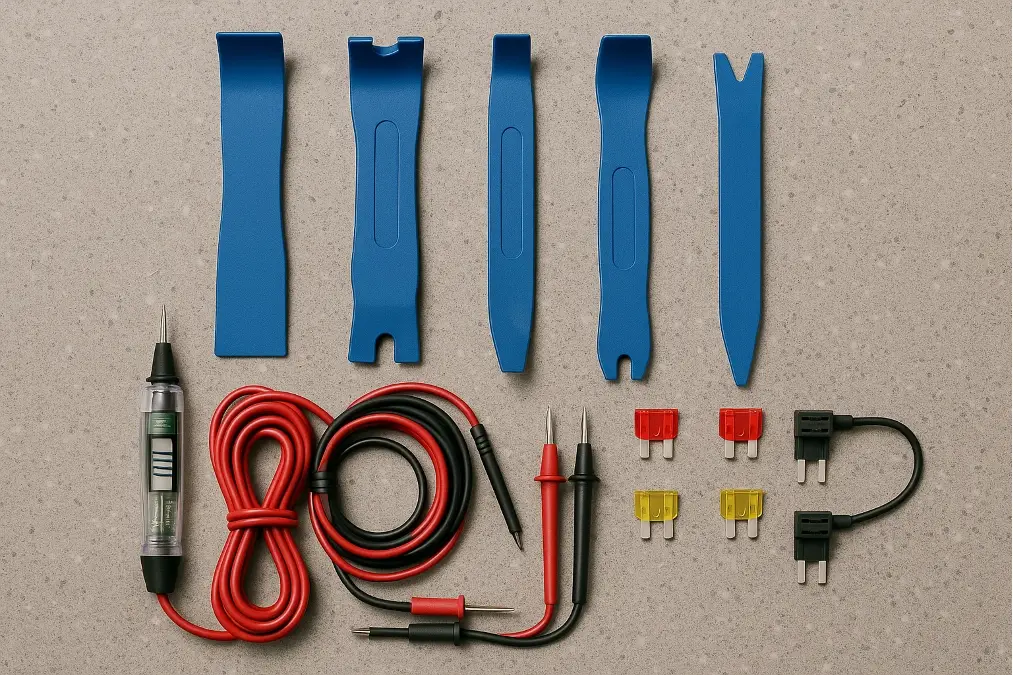
- Plastic Trim Removal Kit ($15): The single most important tool. It lets you pop open interior panels without scratching or breaking the clips. Don't use a screwdriver.
- Circuit Tester / Multimeter ($15): This is non-negotiable for hardwiring. It's the only way to safely and correctly identify which fuses provide constant power and which provide accessory (ignition-switched) power.
- Fuse Tap Kit ($10): These allow you to add a new circuit to your fuse box without cutting or splicing any factory wires, making the installation clean and reversible.
- Pliers and Zip Ties: For crimping connectors on the hardwire kit and securing any loose cables behind the panels to prevent annoying rattles.
-
The Process in a Nutshell:
- Plan: Sit in your car and visualize the entire wire path before you start.
- Mount: Position the front and rear cameras, ensuring they don't obstruct your view or any vehicle sensors.
- Route: Start tucking the wire into the headliner, working your way across to the A-pillar. Gently pry the A-pillar cover open and run the wire down towards the fuse box, keeping it away from the airbag.
- Connect: Use your circuit tester to find your target fuses. Attach the fuse taps and connect the hardwire kit's power, accessory, and ground wires.
- Test: Turn the car on to check that the camera powers up. Then turn it off to confirm it enters parking mode correctly.
Are There Hidden Costs You Should Know About Before Installing a Dash Cam?
You've budgeted for the camera and installation, but then you get to checkout or start the project and realize you need more parts. This is a common and frustrating experience for many buyers.
Yes, there are several crucial "hidden" costs. Expect to spend an additional $20-$50 on a required high-endurance microSD card, $20-$40 for a hardwiring kit to enable parking mode, and possibly another $15-$30 on specific fuse taps or tools.

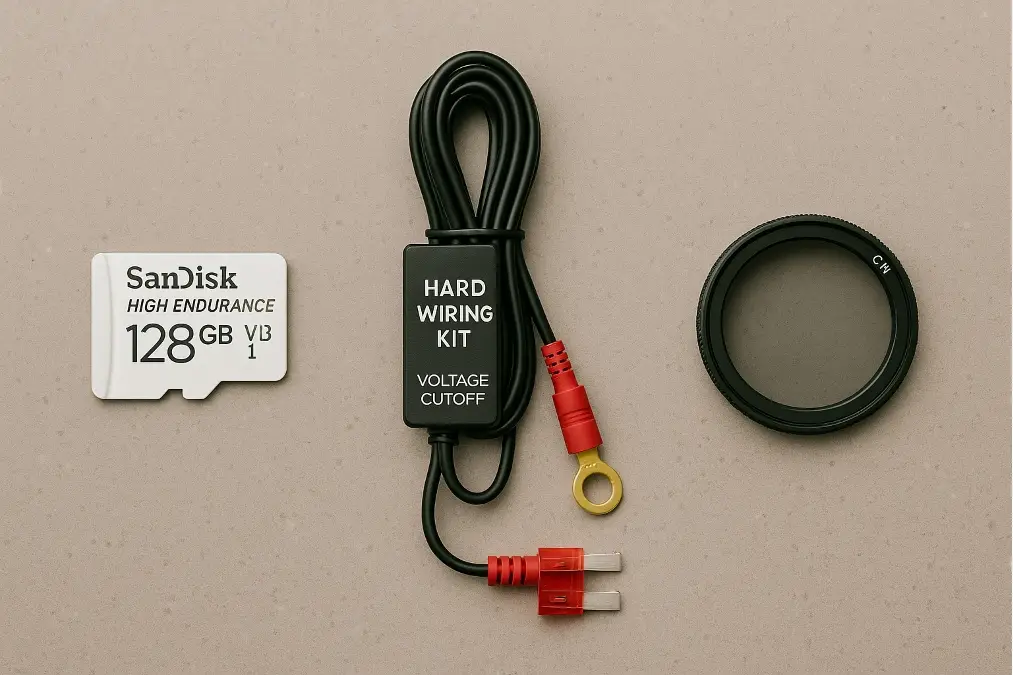
These aren't "hidden" to deceive you; they are essential accessories that are sold separately because needs vary. The most critical is the microSD card. I cannot overstate this: a standard memory card is not sufficient. Dash cams are constantly writing and rewriting huge amounts of data. This intense activity will destroy a regular card, often within weeks, leading to corrupted files or recording failures right when you need the footage most. A "high-endurance" card is specifically designed for this workload. Another key item is the hardwiring kit2. It's more than just a cable; it contains a voltage monitoring circuit. This device constantly checks your car's battery level and will automatically cut power to the dash cam if the voltage drops to a preset level (e.g., 12.0V), ensuring you always have enough power to start your engine. These aren't optional upgrades; they are fundamental components for a reliable and safe system.
Budgeting for the Complete System
Plan for these items from the start to avoid surprises:
| Item | Average Cost | Why It's Absolutely Necessary (Not Optional) |
|---|---|---|
| High-Endurance MicroSD Card | $20 - $50 | Designed for the intense, constant read/write cycles of a dash cam. Standard cards will fail quickly, compromising your safety system's reliability. |
| Hardwiring Kit | $20 - $40 | The only proper way to enable parking mode. Its voltage-cutoff feature protects your car's battery from being drained, preventing a no-start situation. |
| CPL (Circular Polarizing Lens) Filter3 | $15 - $30 | While technically optional, it's highly recommended. It snaps onto the lens and dramatically reduces dashboard glare and reflections in your footage, improving video clarity. |
| Correct Fuse Taps | $5 - $15 | Cars use different fuse types (ATO, Mini, Low-Profile Mini). You may need to buy a specific type that doesn't come with your hardwire kit. |
Conclusion
Whether paying a pro or doing it yourself, a proper installation is not an afterthought. It is what transforms your dash cam from a gadget into a truly reliable safety device.
-
This link will provide insights into the potential pitfalls of DIY installations, helping you weigh your options carefully. ↩
-
Learn how a hardwiring kit can protect your car's battery and enhance your dash cam's functionality. ↩
-
Discover how a CPL filter can significantly enhance your dash cam footage by reducing glare and reflections. ↩


